

Do you smell that? Your award-winning chocolate chip cookies just came out of the oven, and now you’re prepared to photograph the latest batch. Wait, slow your dough roll! You’re not just going to photograph any cookie, right?
Matt’s Pastry Photography Guide is filled to the flaky crust with beginner tips that you can use to enhance your photography craft.
Judge a Cookie by its Chips
So, you’re ready to photograph a fresh batch of your famous chocolate chip cookies. First, here’s a quick life lesson.
Select a popular package of cookies and rip ’em open. Notice something? Just like people, some cookies have malformed edges…some cookies fell apart…some cookies are cracked…some cookies are misshapen…some cookies don’t look like cookies…and one cookie looks like a cookie.
Food stylists (yes, that’s a real thing) show no mercy or compassion. They won’t bat an eyelash at eviscerating a party size bag of cool ranch Doritos, just for the privilege to examine each tortilla chip for slight imperfections, birth defects, and general oddities.
You heard dark tales about Spartan warriors examining babies for signs of weakness. And you know what happened to those babies who were perceived as being weak or inferior, right? The food industry is brutal and has specific standards, needs, and desires. If a tortilla chip has a broken corner, throw it in the trash. Misshapen? Not a chance in hell. No spice? Next please.
Great, let’s play a game! Now it’s your chance to become a Spartan warrior (rippling abs not required) and judge a cookie by its looks.
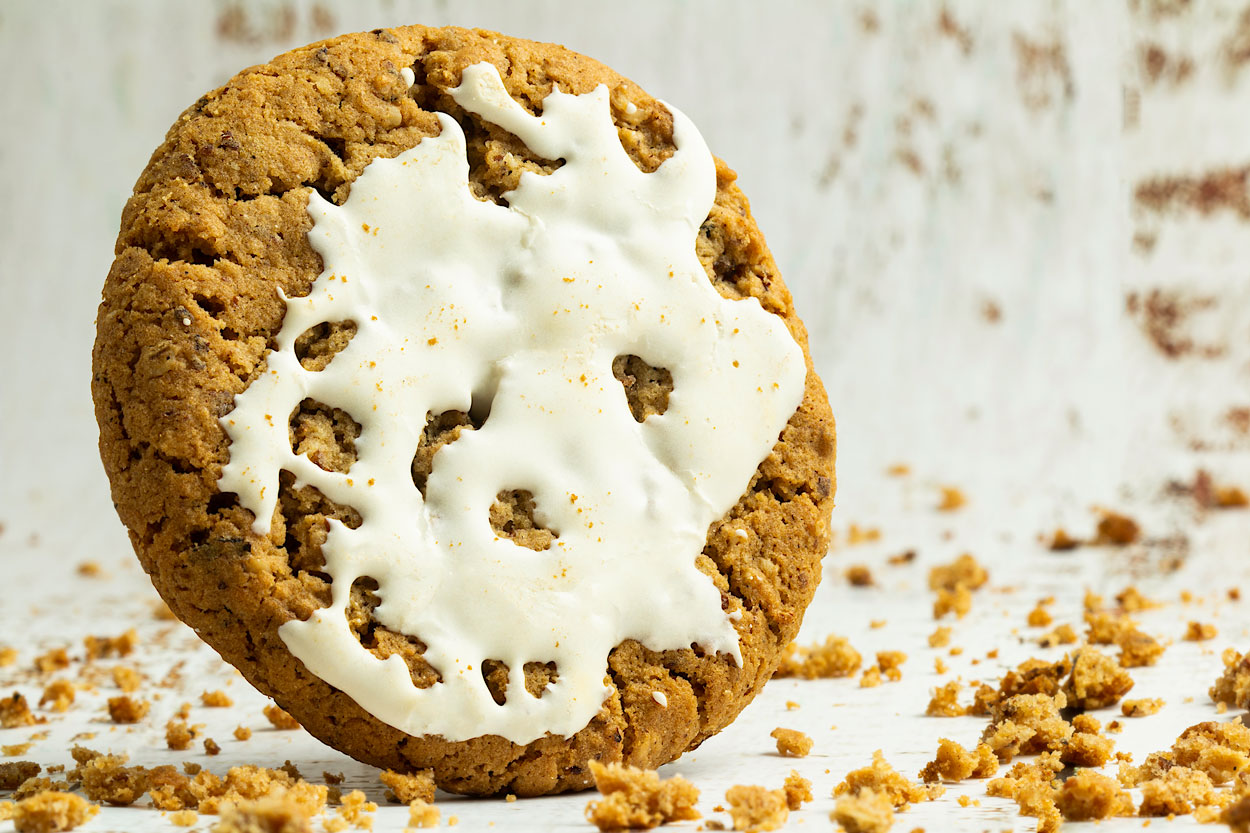
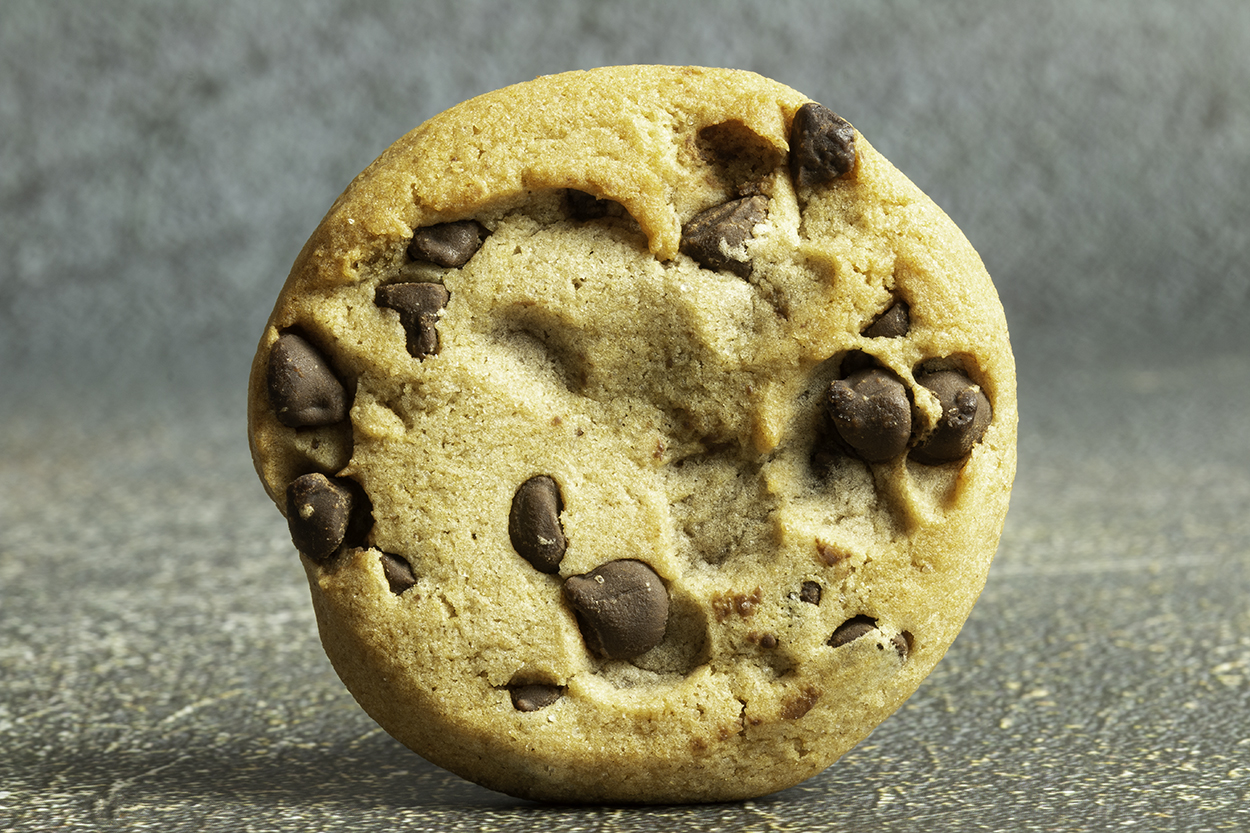
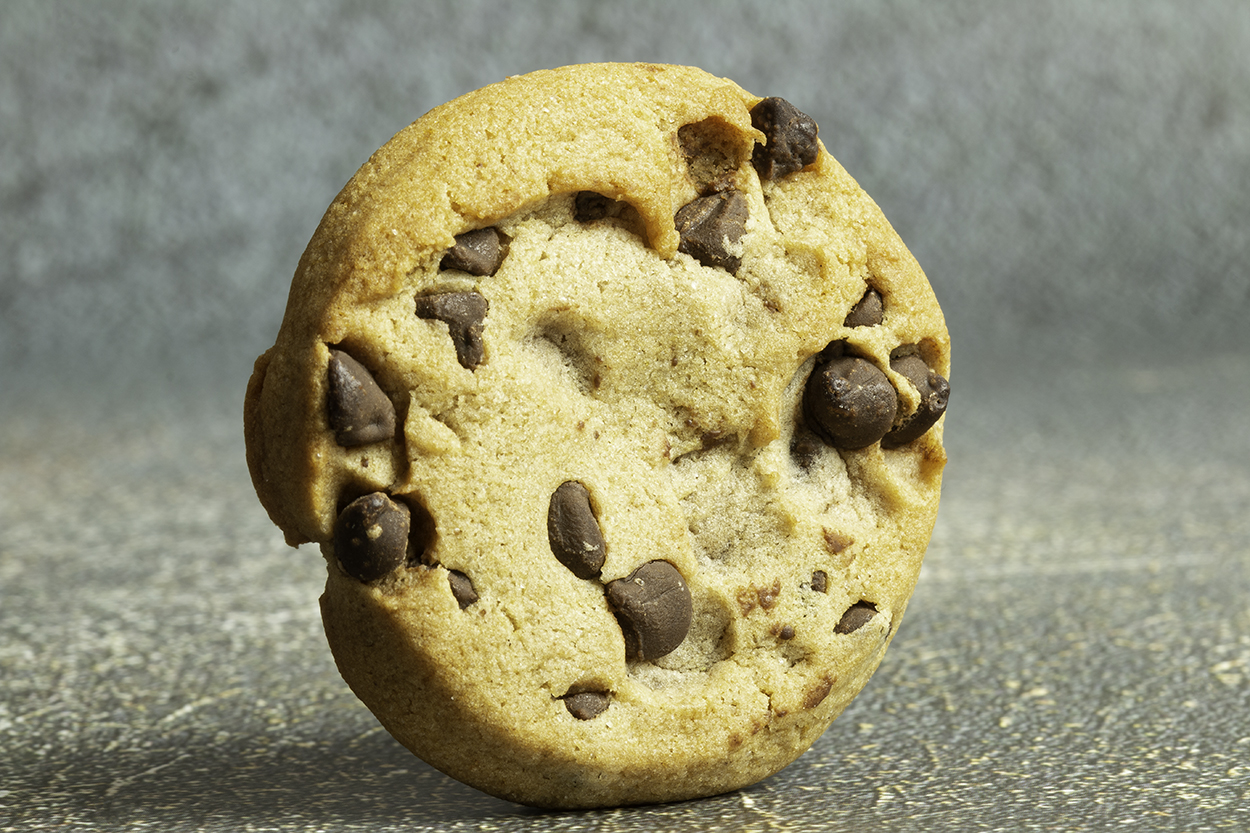
Observe this gallery of basic chocolate chip cookies that were ripped from the plastic sleeves of a popular brand of snacks. Which specimen would you photograph? Take your time.


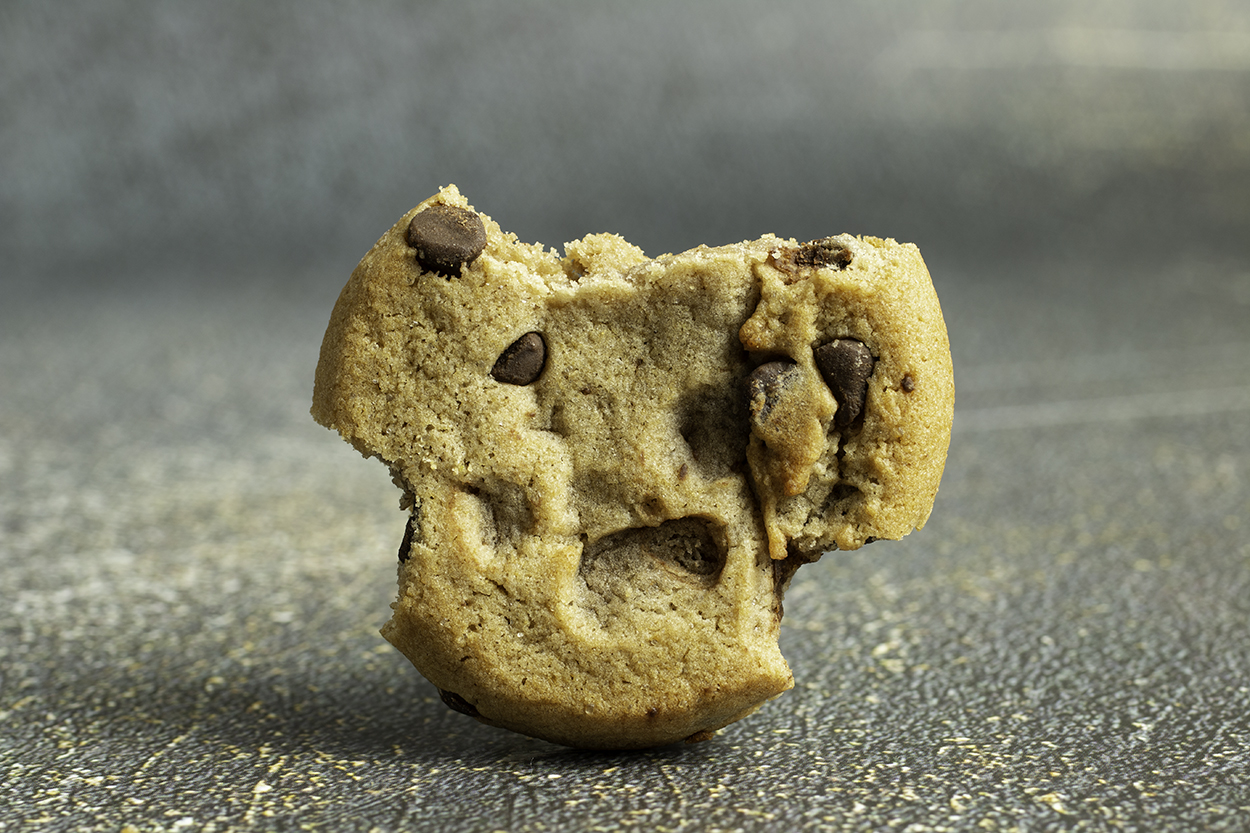


Truth be told, not all cookies look the same. Obviously. Some cookies have more chocolate chips and some cookies are more…symmetrical. Let’s make this simple, based on roundness and number of chocolate chips, which cookie would you photograph?
So, if you’re gonna photograph your award-winning chocolate chip cookies, select the one that was gifted with golden genes, especially for close-up work, because if it doesn’t look good, it won’t look good. Think about it.
The cookie you choose to photograph is not just a cookie—it’s a super model that represents all other cookies.

Rebel Without a Cupcake
This next tip doesn’t involve fancy tricks or gear. All you need is a little organization, your eyeballs, and the willingness to do something outside the norm.
Cookie photographs on social media, for example, tend to share the same qualities: bright, clean base, and top down lighting. Is there anything wrong with that? No, but imagine this scenario: a typical user follows 25 cookie artists, and a day later, examines their feed and sees a series of photographs that all share the same qualities. A lack of contrast causes all the photographs in a particular feed to blend into one. You can be the contrast.
How? Simple, do the opposite of what everyone else is doing.

Do you notice that many people in your social media feed use a white base and background in their photographs? Try using dark tones. Imagine a social media feed filled with ten, bright, clean, photographs, and then, wham! Your moody photograph punches a viewer in the face. Why? Contrast, duh…it’s simple physics.
Or you can do what everybody else is doing and see how that works out. Will you be successful? Who knows. Will the journey be uninspiring and boring? Absolutely. Don’t be afraid to do your own thing and break the rules.
* Create a folder that contains a small portfolio of work you’d like to share. In that folder, create three or more different folders which contain different styles of photographs, such as monocrome, bright and clean, dark and moody, colorful and fun, different aesthetics, and creative work.
So Close Your Eyes Can Taste it
It’s no secret that many pastries are relatively small, and large pastries, such as cake and pies, have a variety of subtle details that can be difficult to photograph.
If you want to photograph tiny details or achieve a closer focus, get a macro lens.
A true macro lens produces a 1:1 ratio, which means subjects focused at that close distance will appear “lifelike”. However, focusing too close can be overkill, because there’s such a thing as being too close to your subject.
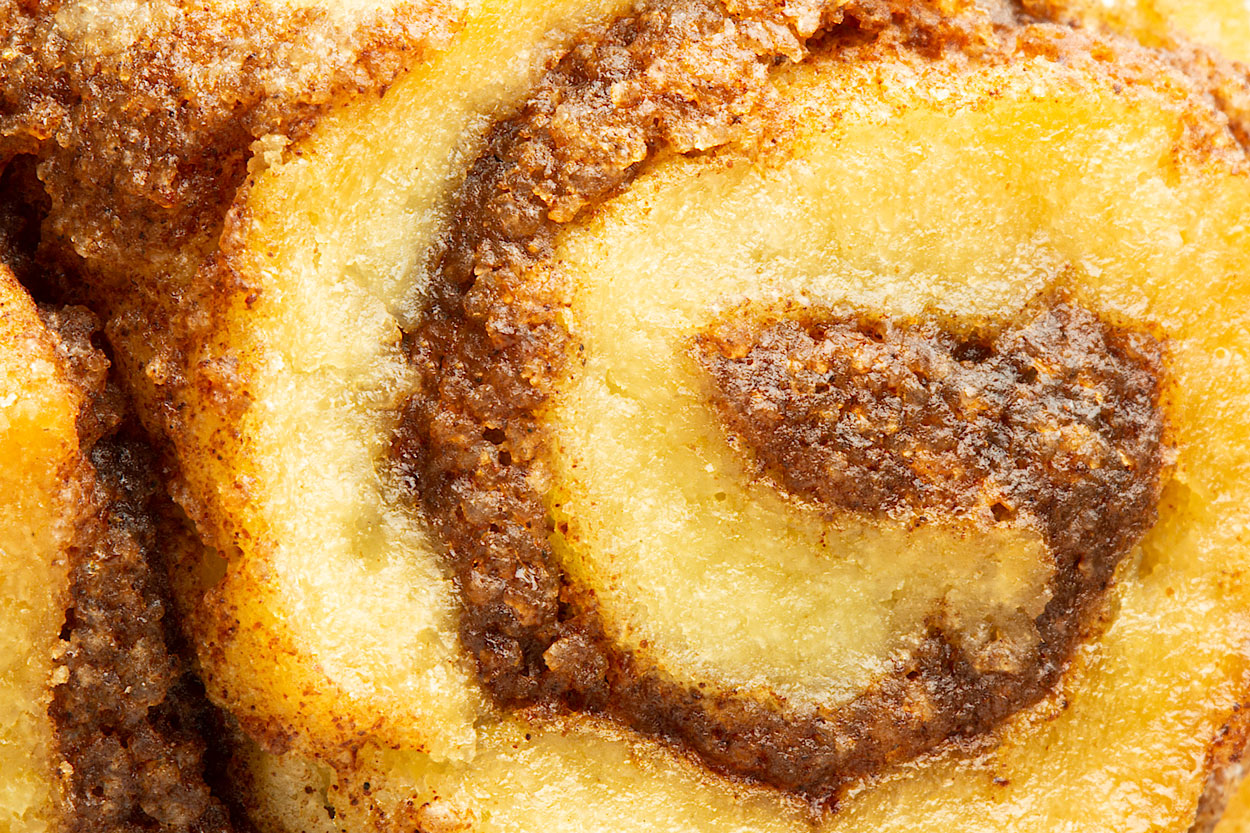
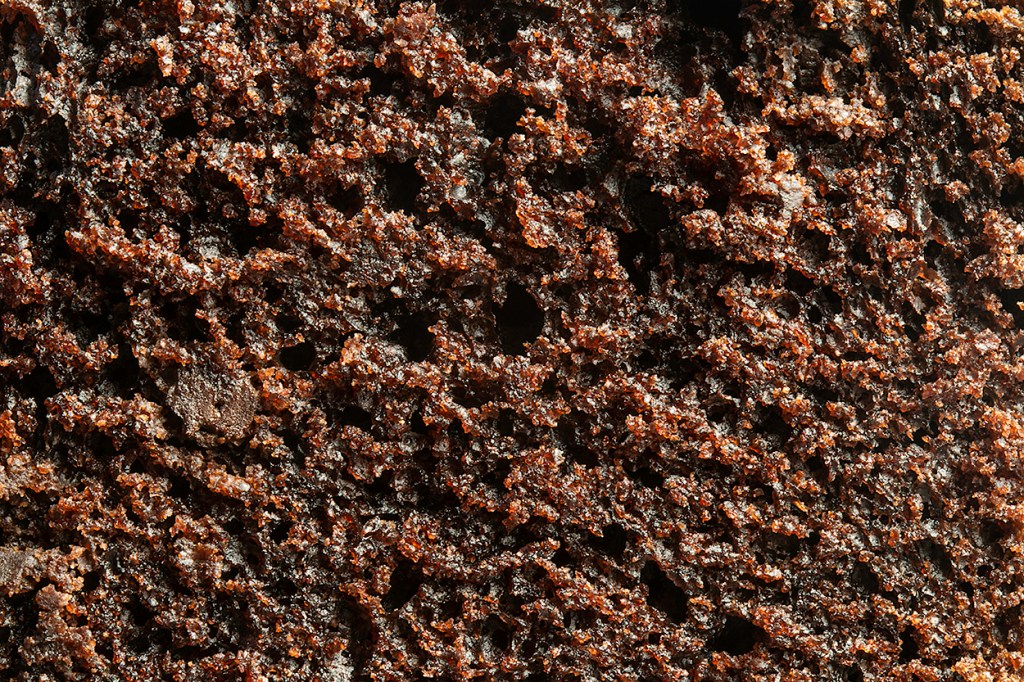
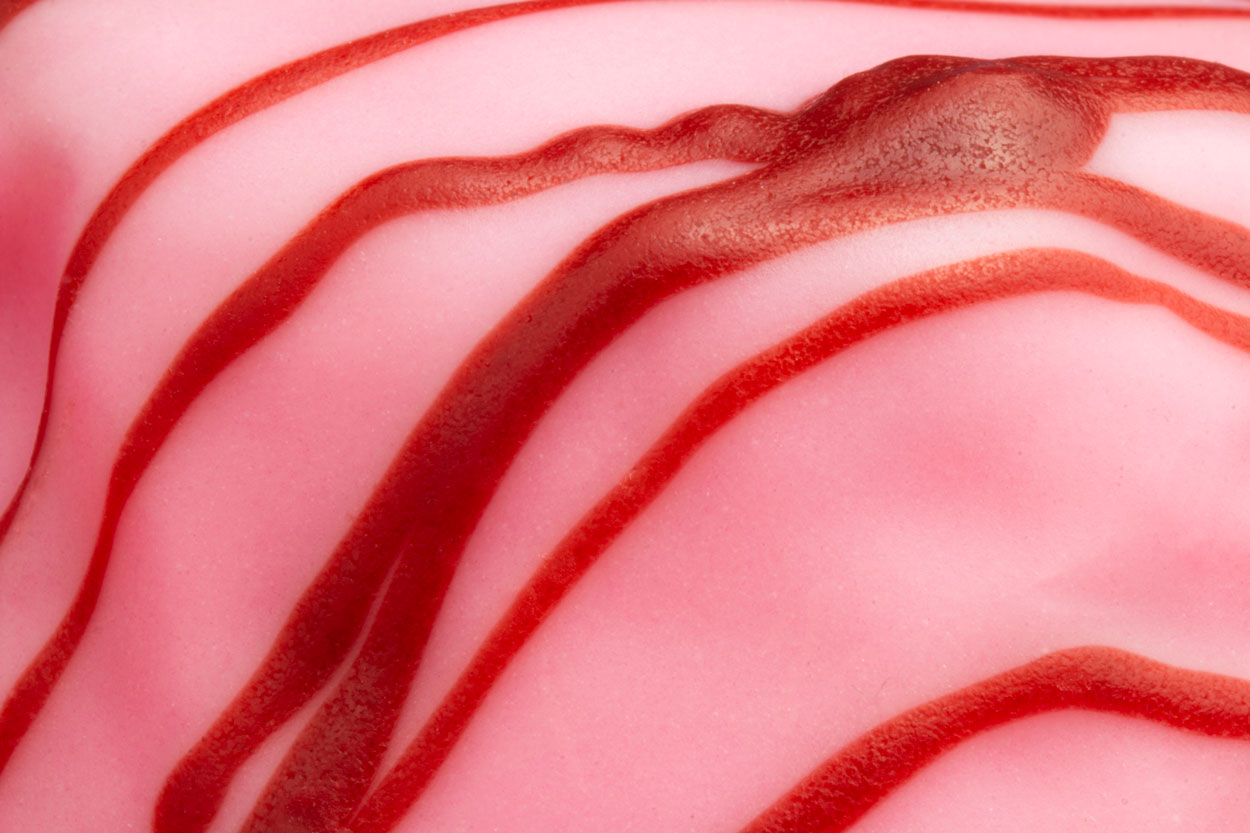
Macro lenses can focus at a variety of distances—not just straight up in your subject’s face. Take a look at the photograph below this paragraph. Is that brown fluff supposed to be cake? Chocolate muffin? Whoopie pie? This is a classic scenario when being too close to a subject erases all perspective and context, because, after all, that brown fluff could be dirt, right?
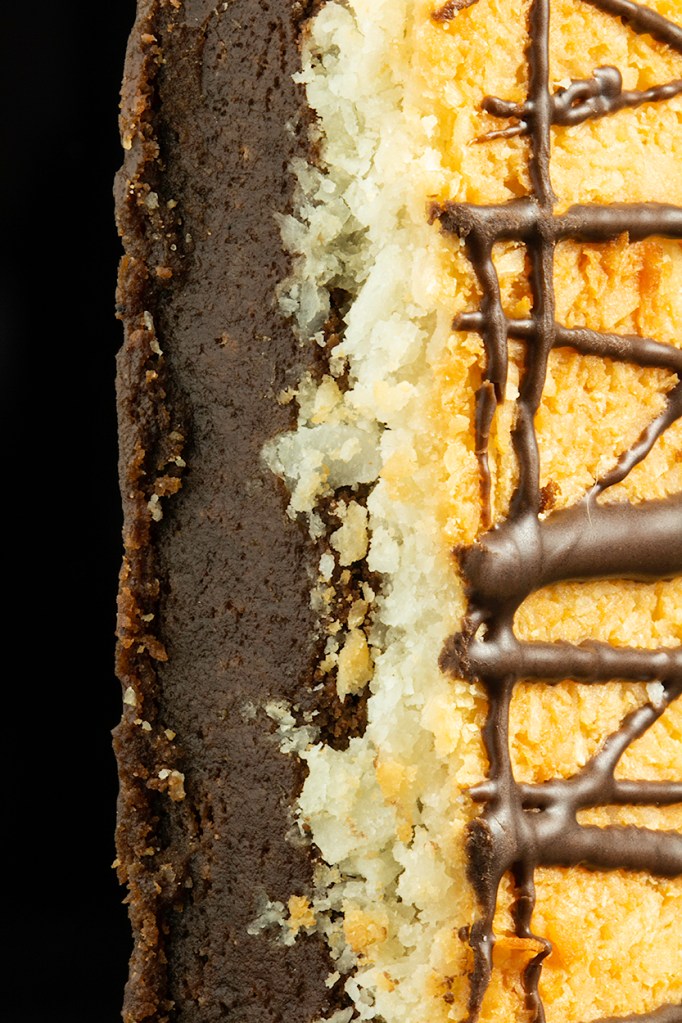
Let’s see what happens when the camera backs up a little bit and we can see more aspects or characteristics of the subject.
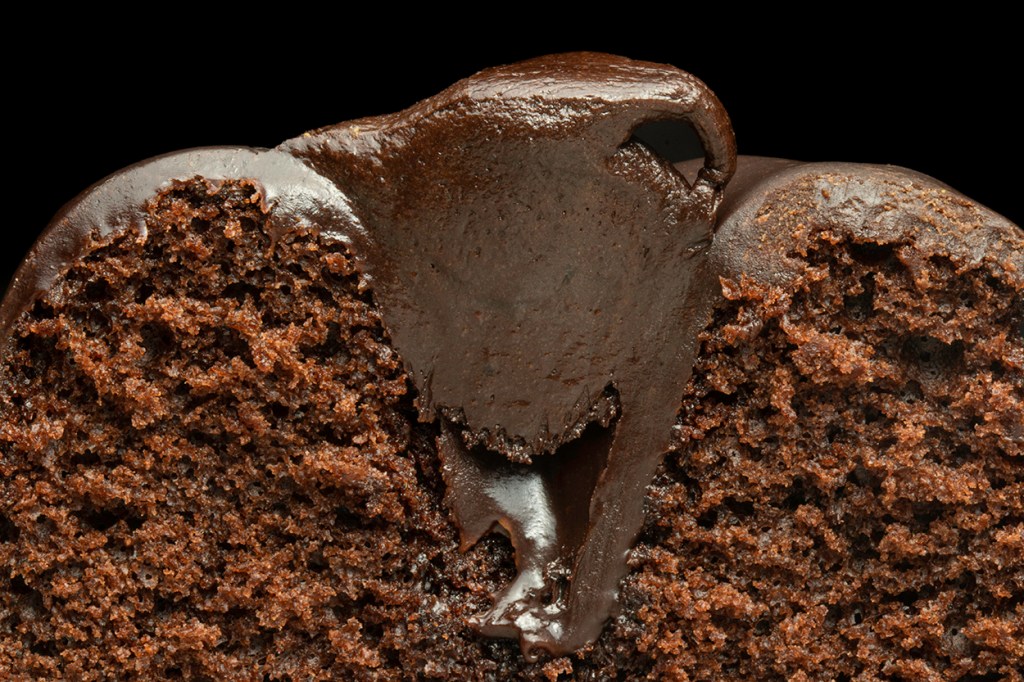
Ah-ha, it’s a piece of lava cake!
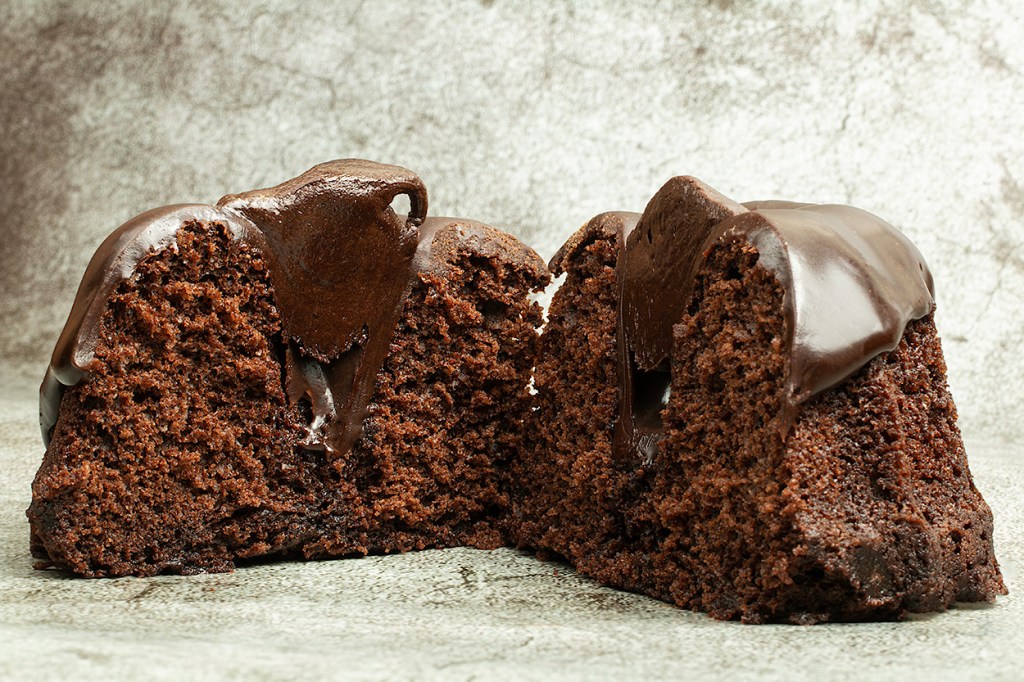
Macro photographs can never tell the full story of your subject. Find a balance between up-close and being able to discern what’s in the photograph.
Which photograph reveals more about the subject? The question is a no-brainer! Keep in mind that focusing close to a particular subject doesn’t necessarily provide any obvious details as to what it is, so just because your camera lens can focus at a 1:1 ratio, doesn’t mean you should.
Canon and Nikon sell affordable macro lenses, however, my suggestion is somewhat biased. If you own a Canon camera body, try using a Canon EF 50mm f/2.5 or Canon EF 100mm f/2.8 macro lenses.
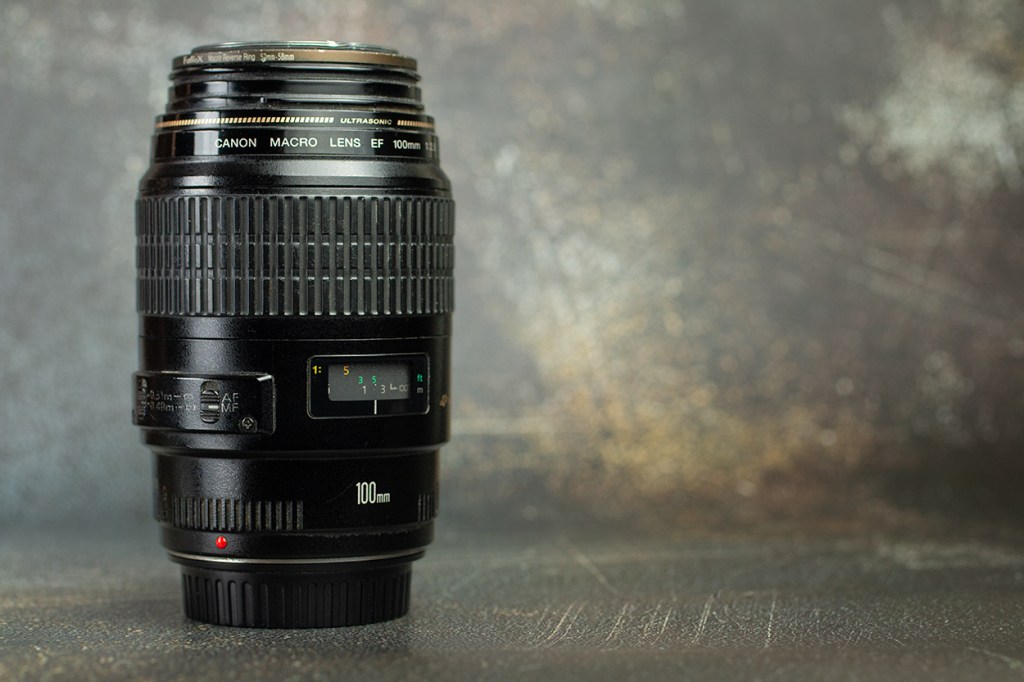
Canon EF 50mm macro lens costs about $150, and Canon EF 100mm (f/2.8) costs about $399 or less.
You can also give a Canon EF 180mm macro lens a shot, but it will give your wallet a black eye ($1,099).
Beware: Canon’s EF 50mm f/2.5 macro lens is not a true macro lens. That particular lens cannot focus at a 1:1 ratio, however, it does provide a wider angle of view, which may be worth something to you.
There’s a learning curve to using a macro lens, young grasshopper. You most likely won’t get the results you want or expect. Most people overestimate the depth of field and don’t realize that only portions of a particular subject will typically remain in focus, especially if you set the lens aperture at f/2.8, and even if you set the lens aperture at f/32, the depth of field will remain minuscule.
You’ll have to experiment and practice with different camera settings, focus points, angles, and perhaps focus stacking. Oh, get some lights, too. Trust me.
* Macro lenses can focus at a variety of distances. Don’t get too close or you risk people not being able to discern what the subject is. Be mindful of focus points, angles, and lens aperture—all of those specific details will increase or decrease depth of field.
Once You Go Ballhead You Never Go Back
A macro lens and tripod is a tasty two-piece combo that’s relatively affordable,versatile, and effective.
Of course, you can send spend as much moolah as your green heart desires. Aim to purchase a tripod in the $280-350 range.
For the love of all that is holy—avoid cheap tripods at all costs, because you’ll end up burning money. Yup, that $30 tripod on Amazon seems cool, and it may even work once or twice.
Cheap tripods will turn their back on you, and when that moment arrives, you’ll realize the value of a proper tripod. But it will be too late because you wasted $30! Don’t be that person.
$280-350 may seem expensive, however, imagine tacking on an extra $30 because you decided to go the “inexpensive route”. Think about it.

Manfrotto sells professional tripods, especially in the $280-399 price range. Purchase a ballhead mount, too.
You may still believe that it’s moronic to spend that many greenbacks on a tripod, however, a reliable tripod will increase your work efficiency, image quality, and creative control. You also won’t have to hold your camera and that’s worth something, right?
Ballhead mounts allow you to easily frame your subject at a variety of angles, and as you can imagine, that’s quite useful for photographing static scenes, products, and food.
Never let a tripod limit your creativity.
* If you’re using a tripod that only moves in certain planes of motion, your creative potential is limited. Ballhead mounts are easy and intuitive to use, and it doesn’t impede the creative process. Don’t waste your money on cheap tripods!
A Closet Full of Options
You got a camera, reliable tripod, fresh cookies, and a macro lens. Now what?
Have you ever seen a lovely marble counter top used in product photography? Perhaps that rustic brick wall in the background of a badass motorcycle advertisement? Yeah, none of it is real, and that’s great, because marble and bricks ain’t cheap.
PVC backdrops (or lay flats) are relatively inexpensive and can be rolled, cleaned, yelled at, abused, and shoved in your closet.
Many of the photographs you have seen in the past probably utilized a PVC matte base or backdrop, because it’s cheaper than the real deal, and it’s more convenient.
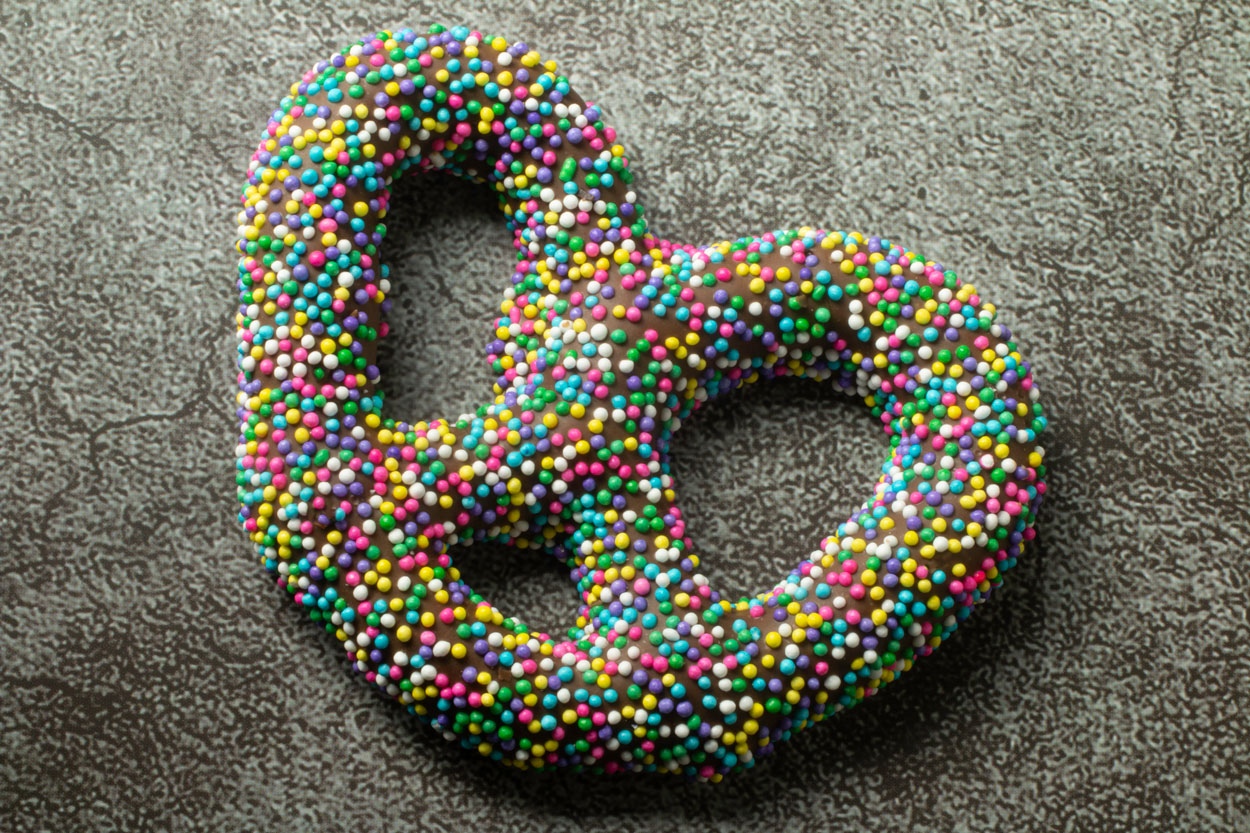
For up-close shots, PVC material may not be the best option. Take a look at this fancy pretzel. Take a close look at the “stone base” and you’ll see that the texture seems a little off. So, keep that in mind if you plan on using textured PVC material for up-close work.
It’s no secret that paper and pastries don’t mix well together. Why? Because of moisture, frosting, powdered sugar, filling, chocolate, caramel, and every other sticky ingredient you can conjure up in your mind. Rolls of paper is also expensive, especially if you have to use new sheets every session.
PVC backdrops (or flats) have an initial cost, but you’ll save more money as time marches on, because you won’t have to throw PVC in the trash if caramel gets all over the damn place.

You’ll get more bang for your buck if you purchase double-sided PVC material, especially if you just started your collection. Don’t be surprised if you end up paying $40 for a handful of rolls, though.
If you need or prefer a solid white base, consider using white acrylic.
Compared to paper or PVC, white acrylic reflects much more light, so it’s easier to achieve that “clean” look.
Acrylic can also be sanitized like PVC, however, its delicate surface is susceptible to scratches and dust. Watch out.
Depending on size and dimensions, acrylic boards could be pricey, too. A single 12×12 board may run you about $10 (depending on thickness and dimensions). However, a 12×12 acrylic board is also quite small. Most objects are too large and simply won’t fit on the board.
Price increases as the size and thickness of the boards increase. But you’ll save yourself time and effort by using either white or black acrylic boards, so that’s gotta be worth a pretty penny.
Now…there’s something to be said about the real deal. If you can acquire authentic materials (stone, metal, wood, etc.), that may be a better option than using PVC or acrylic boards.
Get a few rolls of PVC while keeping your eyes open for authentic bases and backdrops, because, after all, you can’t roll up a marble counter top and stick it in your closet or under your bed.
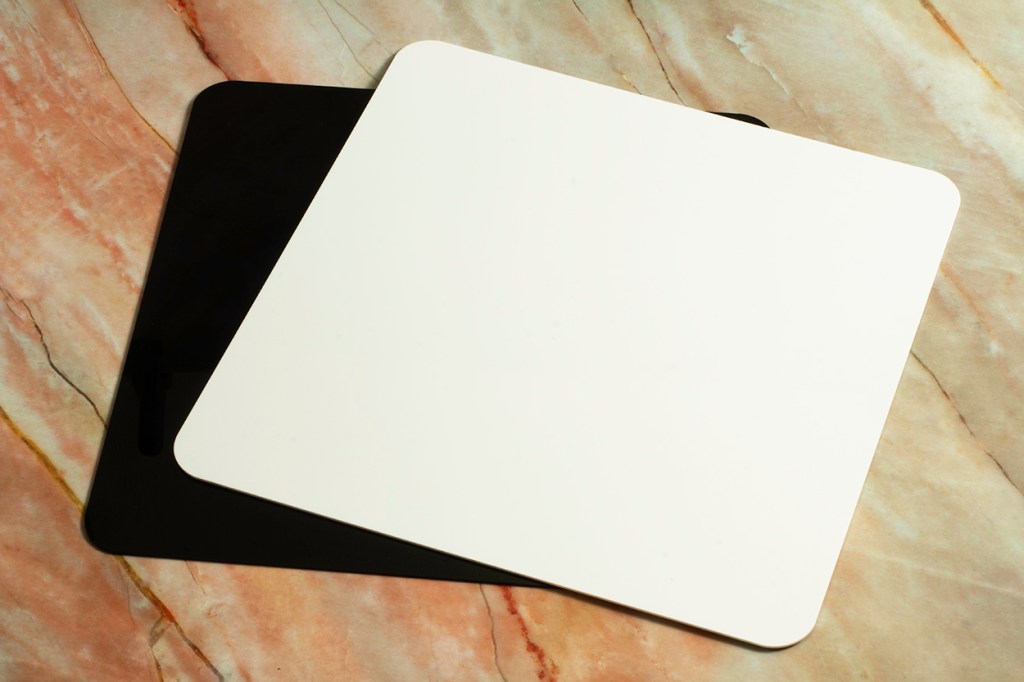
If you don’t currently own any of these options, acquire a few white and black 12×12 (or larger) acrylic boards. White and black acrylic boards will increase your creative options. You can use the boards to create reflections or perhaps a dark, moody aesthetic. Acrylic boards will also last a long time if you’re not too careless.
Make an educated choice based on your own needs, goals, and budget.
| Pros | Cons |
|---|---|
| Relatively inexpensive | PVC might be too small depending on subject |
| Durable | Hotspots! |
| Surface can be cleaned | Some textures have variable print quality |
| A variety of colors and textures | Requires clamps and weights to keep flat |
Strike a Pose, There’s Nothing to It
Alright folks, this next technique is a big one.
Crack open a clothing catalogue, magazine, or view an online e-commerce gallery. Take a quick gander at products, portraits, models, and food photography. What do these different genres of photography have in common? Angles, baby!
You’ll rarely see food posed “straight on” because objects appear less interesting and lack visual impact when posed in that orientation. Angles also add dimension to photographs. Go on, give it a shot.
Or take a look at this cookie.

Which one looks better? Exactly.
Nope, it’s not black magic or witchcraft! Just the same cookie slightly angled away from the camera. Modeling 101. Simple as that.
You can see that the first photograph in the series appears flat and boring, and the next two photographs gradually improve as the angles changes. If you’re not already applying this concept, this single technique will improve the quality of your photographs.
In fact, you can forget everything in this guide, but if you just remember this simple technique, you’re golden! 100% guaranteed.
This technique works for just about anything, including portraits of yourself or people. Angle your shoulders away from the camera, and wham! You’re now a runway model. People pay a shitload of cheddar to learn this stuff. You’re welcome.
Turn Off the Oven
Take some time to digest this guide before jumping in the pool. You don’t want to get a tummy ache, right?
As stated earlier in this guide, experiment with different camera settings, lighting conditions, and angles. Never allow your creativity to be stifled by inferior equipment, and never compromise your vision. Sometimes improving is not about busting out your wallet and paying for an upgrade. Sometimes you have to do what you haven’t done before.
With great power comes great lookin’ cookies…remember that.
** Hey, don’t feel like reading the guide? Check out this overview **
- Photograph the best looking subject. Avoid subjects that have imperfections.
- Create a folder filled with versatile photographs for social-media and your website
- Use a macro lens, but don’t get too close to your subject
- Purchase a variety of solid color/textured lay flats and acrylic boards
- Use angles to pose your subject. Avoid posing your subjects “straight on” toward the camera lens
** Recommended Gear & Accessories **
(Unaffiliated links)
- Canon EF 100mm f/2.8 macro lens
- Canon EF 50mm f/2.5 macro lens
- Manfrotto 190 Series ball head tripod
- Large white & black acrylic boards, or 12×12
- PVC backdrops & lay flat (solid colors and textures)

Listen, I’m not a mystical guru who descended from Mt. Pastry. I’m sharing what I learned over the years, the equipment I personally use, and the methods that improved my craft. I’m confident that these simple techniques will also improve your photography. I wish you the best of luck, my friend! Take care and don’t forget to turn off the oven on the way out.
Need help photographing your award-winning cookies? Send me a message.

One thought on “Five Photography Tips for Beginners & Pastry Artists”